canvas element to build a simple browser-based drawing tool. In this first part we will look at how to implement free-hand drawing on the canvas.
Introduction
In an attempt to brush up on my understanding of the HTML canvas element I decided to try
and use canvas to build a simple browser-based drawing tool. In the midst of my efforts
I supposed that this might be a useful exercise for others who wanted to get hands-on with canvas.
The goal of this series of posts is to build a simple browser-based drawing tool, which will allow the user to select an image and add some basic annotations before exporting it again. The tool we will build should be functional, but it will definitely not be the finished article. I have made the tool available here, for convenience.
The source code for the version of the tool that we build in this tutorial can be found on this branch of the GitHub repo.
Introduction to canvas
The HMTL canvas element is supported by all major browsers and it provides an interface to script arbitrary
animations in the browser. To get started you will need a canvas element on your page:
<canvas id="draw_panel"></canvas>
You will want to grab a reference to this DOM element and call the getContext method to return a
CanvasRenderingContext2D. This context is the entity that exposes the API that we use to draw on the canvas.
For example, drawing a 50x50 square in the top-left corner of the canvas can be achieved as follows:
const $canvas = document.getElementById("draw_panel"),
  context = $canvas.getContext('2d');

context.strokeRect(0,0,50,50);
So this is the basic canvas element, but what functionality do we want our tool to expose?
Let's list our aims:
- Draw free hand lines on the canvas
- Draw resizable rectangles to highlight a section of the image
- Set a background image on the canvas that we can annotate
- Add text captions
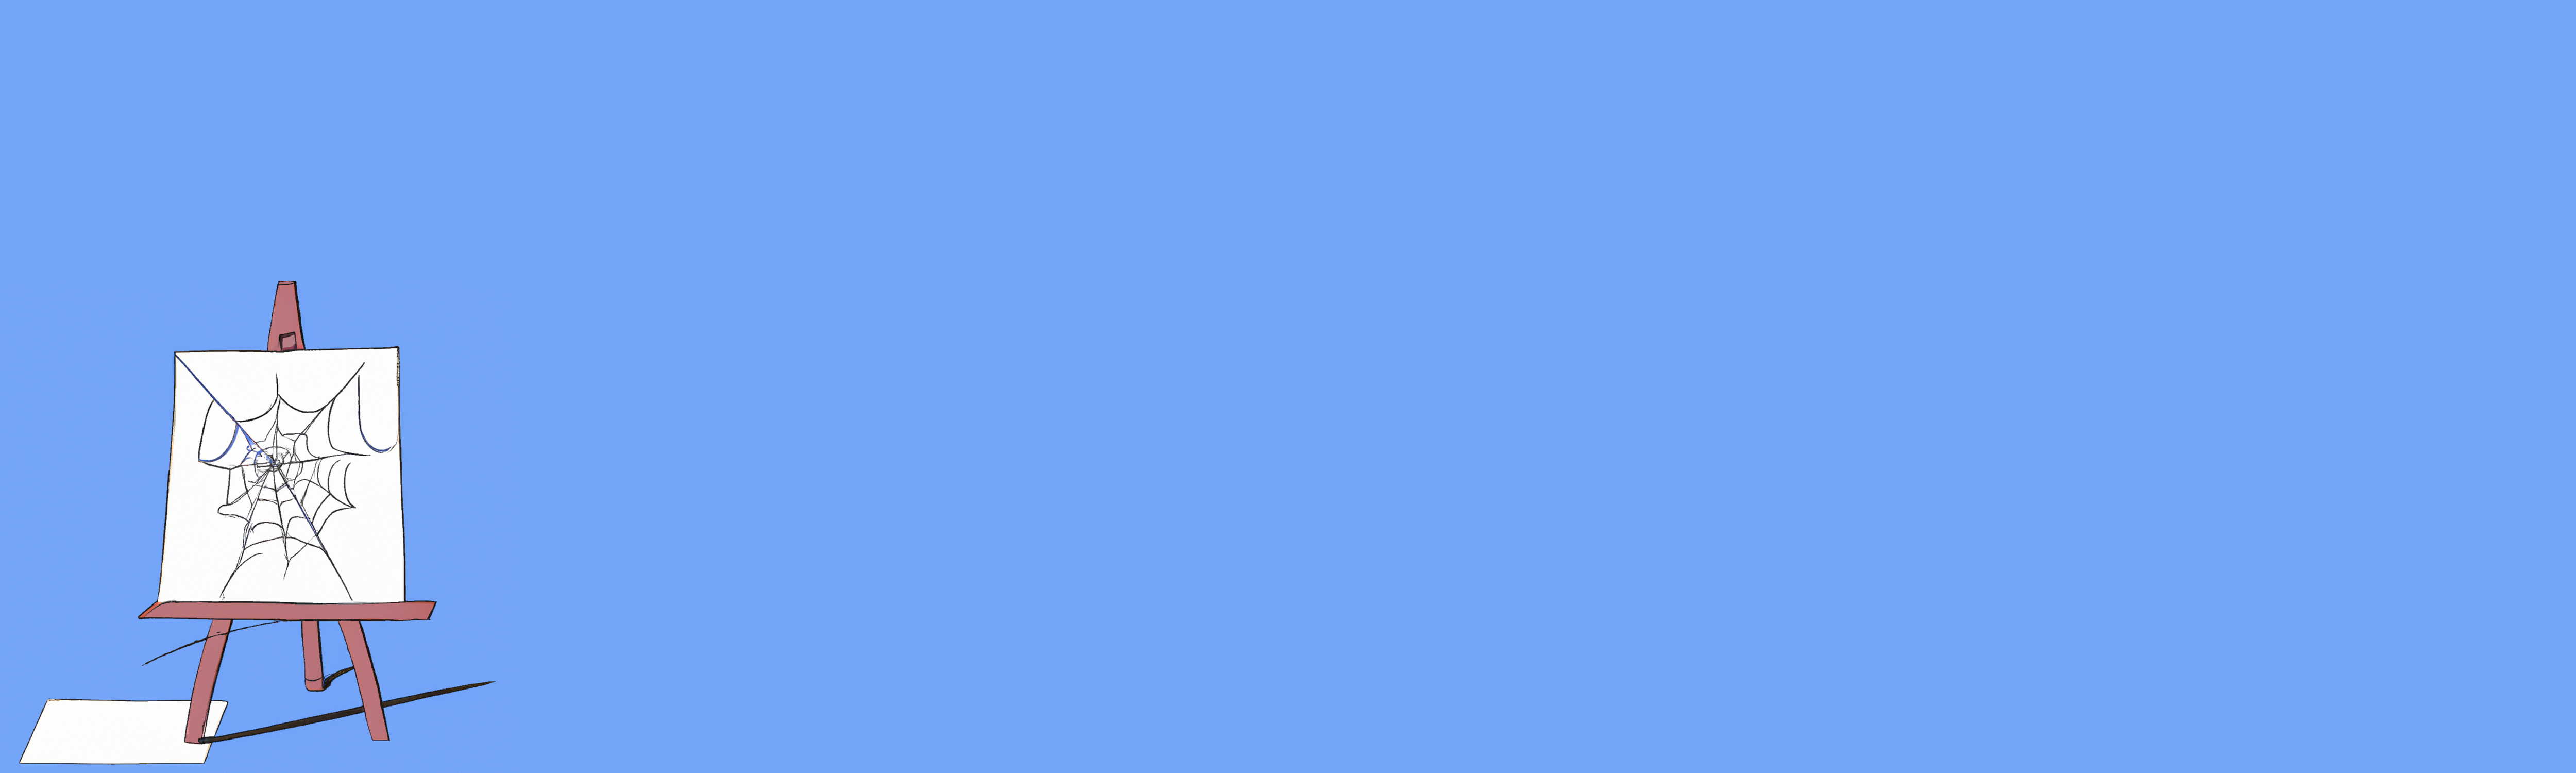
That is quite a lot to cover! In this first tutorial let's just focus on the first point: free-hand drawing on the canvas. This video gives a quick demonstration of what we are aiming for:
Page initialization
When the page is loaded we are going to want to grab a reference to our canvas and set up some other variables
that we can reference in subsequent scripts. In the interest of maintenance we want to develop our tool as set
of (reasonably) isolated elements, or modules. I had hoped to use ES6 modules for this purpose,
however, given that these native modules
cannot be loaded using file:// protocol, I fell back to using the
revealing module pattern,
which works better for a basic server-less development project. A stripped-back version of the HTML for the page:
    <div id="tool_wrapper">
      <div id="control_panel">
          <div id="tools" class="control_panel_section">
          <h3>Tools</h3>
          <div class="control_option">
            <button class="btn tool-btn" id="draw_tool_btn" data-active="false">✎</button>
            <button class="btn tool-btn" id="erase_tool_btn" data-active="false"><div class="erase_rect">▭</div></button>
          </div>
      </div>
      <div id="draw_panel_wrapper">
        <canvas id="draw_panel"></canvas>
      </div>
    </div>
    <script src="js/page.js"></script>
    <script src="js/pencil.js"></script>
    <script src="js/eraser.js"></script>
The first module we define, PAGE, will simply reference the DOM and set
up some variables:
window.PAGE = (function(page){
  page.canvas = null,
  page.ctx = null;

  …

  page.init = function(canvas_id){
    // Initialize canvas size
    page.canvas = document.getElementById(canvas_id);
    page.canvas.width = window.getComputedStyle(page.canvas, null)
      .getPropertyValue("width")
      .replace(/px$/, '');
    page.canvas.height = window.getComputedStyle(page.canvas, null)
      .getPropertyValue("height")
      .replace(/px$/, '');
    page.ctx = this.canvas.getContext('2d');

    if(typeof window.PENCIL !== "undefined"){
      window.PENCIL.init(page.ctx);
    }
    if(typeof window.ERASER !== "undefined"){
      window.ERASER.init(page.ctx);
    }
  };

  return page;
})({});

document.addEventListener("DOMContentLoaded", function(){
  PAGE.init("draw_panel");
});
This initialization grabs a reference to our canvas element and the associated context and stores
these on the PAGE object. It also inspects and stores the pixel width and height of the
canvas element on the page (in the interests of simplicity we will neglect resize events after page
initialization). These dimensions will be required to map our screen coordinates into canvas coordinates, which
brings us nicely on to …
Utilities
The goal is to build this tool with zero dependencies, so we will need to define a number of utilities that
we can lean on throughout the rest of the tutorial. I list two of the main ones here: the throttle
function and the Point class. The throttle function will wrap another function to
ensure that repeated invocations of said function will be limited to only run the function once in the
defined wait interval. Any time we attach handlers to touchmove or
mousemove events we are going to want to wrap the handlers in this throttle
function.
window.throttle = function(func, wait = 50) {
  let timer = null;
  return function(...args) {
    if (timer === null) {
      timer = setTimeout(() => {
        func.apply(this, args);
        timer = null;
      }, wait);
    }
  };
};
The Point class provides an object to wrap the (x,y) position from our touch and click
events, and this will also be responsible for the fundamental task of mapping these screen coordinates over to our
canvas coordinates:
// Point class to represent (x,y) and convert to canvas coordinates
window.Point = class Point {
  constructor({ x, y, canvas, canvas_x, canvas_y }) {
    this.canvas = canvas;
    this._x = x;
    this._y = y;
    this._canvas_x = canvas_x
    this._canvas_y = canvas_y;
    this.css_width = window.getComputedStyle(canvas, null)
      .getPropertyValue("width")
      .replace(/px$/, '');
    this.css_height = window.getComputedStyle(canvas, null)
      .getPropertyValue("height")
      .replace(/px$/, '');
  }

  get canvas_position() {
    const $offset_parent = this.canvas.offsetParent;
    return this._canvas_position ||= {
      left: $offset_parent ? $offset_parent.offsetLeft : 30,
      top: $offset_parent ? $offset_parent.offsetTop : 8
    };
  }

  set x(x) {
    this._x = x;
  }

  set y(y) {
    this._y = y;
  }

  get x(){
    return this._x ||
      (this._canvas_x*(this.css_width/this.canvas.width) + this.canvas_position.left);
  }

  get y() {
    return this._y ||
      (this._canvas_y*(this.css_height/this.canvas.height) + this.canvas_position.top);
  }

  get canvas_x(){
    return this._canvas_x ||
      (this._x - this.canvas_position.left)*this.canvas.width/this.css_width;
  }

  get canvas_y(){
    return this._canvas_y ||
      (this._y - this.canvas_position.top)*this.canvas.height/this.css_height;
  }
};
Drawing free-hand lines on canvas
With the page initialized and with some useful utilities in our pocket we can get into handling user interactions with the canvas.
We will set up a PENCIL module for this purpose and we will expose an init method which will be
called when the page is loaded with a reference to the canvas drawing context. You can see the PENCIL
initialization being called fom within the PAGE initialization described earlier:
page.init = function(canvas_id){
  …
  if(typeof window.PENCIL !== "undefined"){
    window.PENCIL.init(page.ctx);
  }
  …
}
The PENCIL initialization looks like this:
window.PENCIL = (function(pencil){
  let ctx = null,
    canvas = null,
    p = null,
    drawing = false;

  …

  pencil.init = function(context){
    ctx = context
    canvas = context.canvas
     p = new Point({x: 0, y: 0, canvas: canvas})  // Initialize touch point state

    document.getElementById("draw_tool_btn").addEventListener("click", function(e){
      const $target = e.target,
        active = (e.target.dataset.active==="true");
      $target.dataset.active = !active;
      toggle_drawing_handlers(!active);
    });

  return pencil;
})({});
This initialization stores references to the canvas, context and a Point object that can be
referenced throughout the module. Note, in particular, the drawing boolean flag which we
initialize to false, this will have an important role in the following logic.
As well as initialization of variables we also attach a click event handler to the pencil button. This button toggles
the pencil tool on and off, and the state is tracked using the data-active attribute on the button.
Once the tool has been activated we will call toggle_drawing_handlers:
const toggle_drawing_handlers = function(on) {
    const method = on ? canvas.addEventListener : canvas.removeEventListener;

    // Handling touch events
    method('touchstart', touchstart, false);
    method('touchmove', touchmove, false);
    method('touchend', mouseup);

    // Handling mouse events
    method('mousedown', mousedown, false);
    method('mousemove', mousemove, false);
    method('mouseup', mouseup);
  };
The function parameter on is a boolean used to dictate whether we want to attach the event
handlers to the canvas element, or remove them. When activating the pencil tool this value will
be true and we will attach event listeners to the touch and mouse events as shown. These event handlers contain
the real engine of our pencil drawing tool.
If you think about how we might reasonably expect our tool to behave: once the user has selected the pencil tool they will move their cursor to the desired place on the canvas then click and drag to draw a line. For touch users, with the pencil tool activated, they will touch the canvas in the desired location and drag their finger to draw.
The initial interaction with the canvas (click or touch) will be handled by the touchstart and
mousedown events. The handlers do effectively the same thing, so we will focus on the
touchstart handler:
  const touchstart = function(event){
    event.preventDefault();
    if (event.targetTouches.length == 1) {
      drawing = true;
      const touch = event.targetTouches[0];
      p.x = touch.pageX;
      p.y = touch.pageY;
      move_to(p);
    }
  };
  const move_to = function(point){
    ctx.moveTo(point.canvas_x, point.canvas_y);
    ctx.beginPath();
  };
As a sanity check we first ensure that we are dealing with a single touch point, we will not try to handle
multiple simulataneous touches in this tutorial.
Once the canvas is touched we will set our drawing flag to true to indicate that drawing has started.
We will also use the coordinates of this single touch event to set the coordinates of our Point object,
p. This Point object is then passed to the move_to method which just
calls the native moveTo method on the drawing context. This method is used to start a new drawing path
from the coordinates supplied to the method. The Point object is used as
an intermediary to map the screen coordinate (x,y), retrieved from the touch event, over to the corresponding
canvas coordinates, (canvas_x,canvas_y).
drawing flag and started a new path on the canvas. The
mousedown handler does the exact same job, but doesn't need to handle the multi-touch case, and retrieving
screen coordinates from the mousedown event is ever-so-slightly different.
We are now ready to draw; the touchmove and mousemove handlers will dictate what happens
once the user drags the cursor (or their finger) over the canvas, after the initial interaction. Again, these handlers do the same job
so let's focus on the touchmove handler:
  const touchmove = throttle(function(event){
    event.preventDefault();
    if (event.targetTouches.length == 1) {
      const touch = event.targetTouches[0];
      if(!drawing){
        return;
      }
      p.x = touch.pageX;
      p.y = touch.pageY;
      line_to(p);
    }
  }, 50);

  const line_to = function(point){
    ctx.lineTo(point.canvas_x, point.canvas_y);
    ctx.stroke();
  };
Again we will start with our sanity check that we are only dealing with a single touch. We then update the Point
object with the (x,y) coordinates of the touch event and then invoke the two functions,
lineTo and
stroke on
the drawing context. In sequence these methods will draw a line on the canvas from the starting point (set by our previous canvas
interaction) to the destination point, which is passed in the arguments to lineTo.
Note that we use our throttle utility here to ensure that we are invoking this callback, and therefore animating the line,
at a reasonable rate.
The final handlers that we need to consider are the mouseup and touchend. In this case both events are handled identically:
  const mouseup = function(event){
    event.preventDefault();
    drawing = false;
  };
All we need to do in this case is to set the drawing flag to reflect the fact that the drawing action has completed.
Erasing lines from the canvas
As well as intializing our PENCIL module, you can see that the PAGE.init function also sets up an
ERASER module. Again, this module will be initialized with a reference to the canvas drawing context:
page.init = function(canvas_id){
  …
  if(typeof window.ERASER !== "undefined"){
    window.ERASER.init(page.ctx);
  }
  …
}
The ERASER initialization looks like this:
window.ERASER =(function(e){
  const eraser_width = 10;
  let ctx = null,
    canvas = null,
    p = null,
    erasing = false;

  // Handler functions
  …

  e.init = function(context){
    ctx = context;
    canvas = context.canvas;

    // Initialize touch point state
    p = new Point({x: 0, y: 0, canvas: canvas})

    document.getElementById("erase_tool_btn").addEventListener("click", throttle(function(e){
      const $target = e.target.closest(".tool-btn"),
        active = ($target.dataset.active==="true");
      $target.dataset.active = !active;
      toggle_erasing_handlers(!active);
    }, 50));
  }

  return e;
})({});
This initialization uses a similar pattern to what we have seen for the PENCIL module. We store references
to the canvas element, drawing context and a Point instance to track the canvas position of the eraser.
We also use a flag (erasing) to indicate whether an erasing interaction is in progress;
we will see this flag used shortly.
As for PENCIL, we activate the eraser tool by clicking on the eraser button in the toolbar. Within this click handler we then
detect if the eraser tool is already active, set the state of the button and toggle the eraser handlers on or off accordingly.
The eraser handlers are toggled via the toogle_erasing_handlers function:
  const toggle_erasing_handlers = function(on) {
    const method = on ? canvas.addEventListener : canvas.removeEventListener;

    // Handling touch events
    method('touchstart', touchstart, false);
    method('touchmove', touchmove, false);
    method('touchend', mouseup);

    // Handling mouse events
    method('mousedown', mousedown, false);
    method('mousemove', mousemove, false);
    method('mouseup', mouseup);
  };
Using the same patterns we have employed in the PENCIL module, we first determine if we are adding or
removing the listeners from the canvas. We then apply separate handlers to respond to the initial canvas interaction
(touchstart and mousedown), the dragging action (touchmove and
mousemove) and the end of the interaction (touchend and mouseup).
The general logic for these handlers is analogous to that presented for the PENCIL module with some small
differences, so we will give the abridged version here.
Initial interaction: touchstart and mousedown
As before, we can focus on the touchstart handler as the mousedown will
be essentially the same:
  const touchstart = function(event){
    event.preventDefault();
    if (event.targetTouches.length == 1) {
      const touch = event.targetTouches[0];
      p.x = touch.pageX;
      p.y = touch.pageY;
      erasing = true;
      move_to(p);
    }
  };
Once we ensure that we are only dealing with a single touch point, we set the erasing flag to be true,
which indicates that an erasing interaction has started. We also record the position of the touch interaction and we move_to
that point on the drawing context.
Dragging motion: touchmove and mousemove
Focussing on the touchmove handler:
  const touchmove = throttle(function(event){
    event.preventDefault();
    if (event.targetTouches.length == 1) {
      const touch = event.targetTouches[0];
      p.x = touch.pageX;
      p.y = touch.pageY;
      clear_at(p);
    }
  }, 50);
Again, after verifying that we are dealing with a single touch point we record the point of the interaction on the canvas and call
the function clear_at, which itself calls clearRect on the drawing context. This method will clear
the drawing context in a rectangular region which you specify in the parameters passed. One must supply the x
and y coordinates on the canvas (which we have gleaned from the touchmove event) along with
the dimensions of the rectangle you wish to clear. In our case we will just clear a square area of fixed size as we drag the eraser
over the canvas. This fixed eraser size is specified by a constant (eraser_width) which we have hard-coded at the
top of the module.
  const clear_at = function(point){
    ctx.clearRect(point.canvas_x-eraser_width,
      point.canvas_y-eraser_width,
      2*eraser_width,
      2*eraser_width);
  };
Terminate interaction: touchend and mouseup
Both of these events are handled by our mouseup function, which simply sets the erasing flag
to be false to indicate that the current erasing interaction has completed.
  const mouseup = function(event){
    event.preventDefault();
    erasing = false;
  };
This completes our eraser tool. You can appreciate that the pencil and eraser tools have very similar implementations, in terms
of how we handle the events that are triggered on the canvas element.
In one case we are using canvas.lineTo to construct line segements, and in the other we are using
canvas.clearRect to clear the canvas in a local region. These are the main tools we use to support free-hand drawing
in our app, but we can also quickly add some support for drawing lines of different widths and colours.
Setting colours and line widths
The line colour and line width can be set on the drawing context before you draw your line. It is a quick addition to to add a couple of input elements allowing us to change the colour and width of the lines we are drawing. First we will include a bit more markup in the control panel of our page:
    <div id="tool_wrapper">
      <div id="control_panel">
       …
        <div class="control_panel_section">
          <h3>Line styles</h3>
          <div class="control_option">
            <label>
              <div>Line width:</div>
              <select name="line_width" id="line_width">
                <option value="1">Thin (default)</option>
                <option value="2">Normal</option>
                <option value="5">Thick</option>
                <option value="10">Very thick</option>
              </select>
            </label>
          </div>

          <div class="control_option">
            <label>
              <div>Line colour:</div>
              <select name="line_colour" id="line_colour">
                <option value="black">Black</option>
                <option value="white">White</option>
                <option value="red">Red</option>
                <option value="green">Green</option>
                <option value="blue">Blue</option>
              </select>
            </label>
          </div>
        </div>
      …
      </div>
    </div>
We then extend our PAGE.init to add on-change handlers to these new select tags as follows:
    const $line_width_btn = document.getElementById("line_width"),
      $line_colour_btn = document.getElementById("line_colour"),
      $reset_btn = document.getElementById("reset");

    $line_width_btn.addEventListener("change", function(e){
      page.ctx.lineWidth = e.target.value;
    });
    $line_colour_btn.addEventListener("change", function(e){
      page.ctx.strokeStyle = e.target.value;
    });
    $reset_btn.addEventListener("click", function(e){
      if(confirm("This will completely clear your work on the canvas. You cannot undo. Are you sure?")){
        page.ctx.clearRect(0, 0, page.canvas.width, page.canvas.height);
      }
    });
Finally we will also listen for clicks anywhere on our drawing tool, and we will deactivate the drawing tool if we
detect a click anywhere outside of the canvas. We keep this final handler general such that it should work in the
event that we add more .tool-btn elements to our page to support different tools.
So, generally speaking, clicking anywhere outside of the canvas should toggle-off the currently active tool.
    document.getElementById("tool_wrapper").addEventListener("click", function(event){
      const $target = event.target;
      if(page.canvas.contains($target)){
        return;
      }
      // Disable active buttons
      document.querySelectorAll("#control_panel .tool-btn[data-active=\"true\"]").forEach(function($btn){
        if($btn!==$target){
          $btn.click();
        }
      });
And just like that, we can now use our drawing tool to draw lines of different widths and colours. Feel free to grab the source code for this tutorial and run the tool for yourself, play with it, extend it and let me know what you think.
Summary
We have had a brief introduction to the HTML canvas element and we have used the
CanvasRenderingContext2D to implement a simple free-hand drawing tool.
Implementing the basic drawing functions only required standard touch- and mouse-event handlers
on the canvas element, along with just four methods on the context object:
moveTo, beginPath, lineTo and stroke.
In the next tutorial we will look at adding resizable rectangles to our canvas.
References
- You can access a hosted version of the drawing tool here
- The GitHub repo to accompany this series of blog posts
- The version of the tool built in this tutorial can be found on this branch
- The excellent MDN Canvas tutorial
- The revealing module pattern
- Limitation of native JavaScript modules when developing locally
Comments
There are no existing comments
Got your own view or feedback? Share it with us below …